Build your first email with Modules
Learn how MashrMail makes building emails simple with our library of pre-built Modules.
Introduction
Now that you have set up your first Design System our system will have automatically re-branded our extensive library of pre-built modules ready for you to use in an email. In MashrMail modules are what you will use to build out the email how you want it to be. Think of them simply as a row in the email. Each module will be re-branded according to your Design System but can be customised further on a per email basis.
Accessing Emails
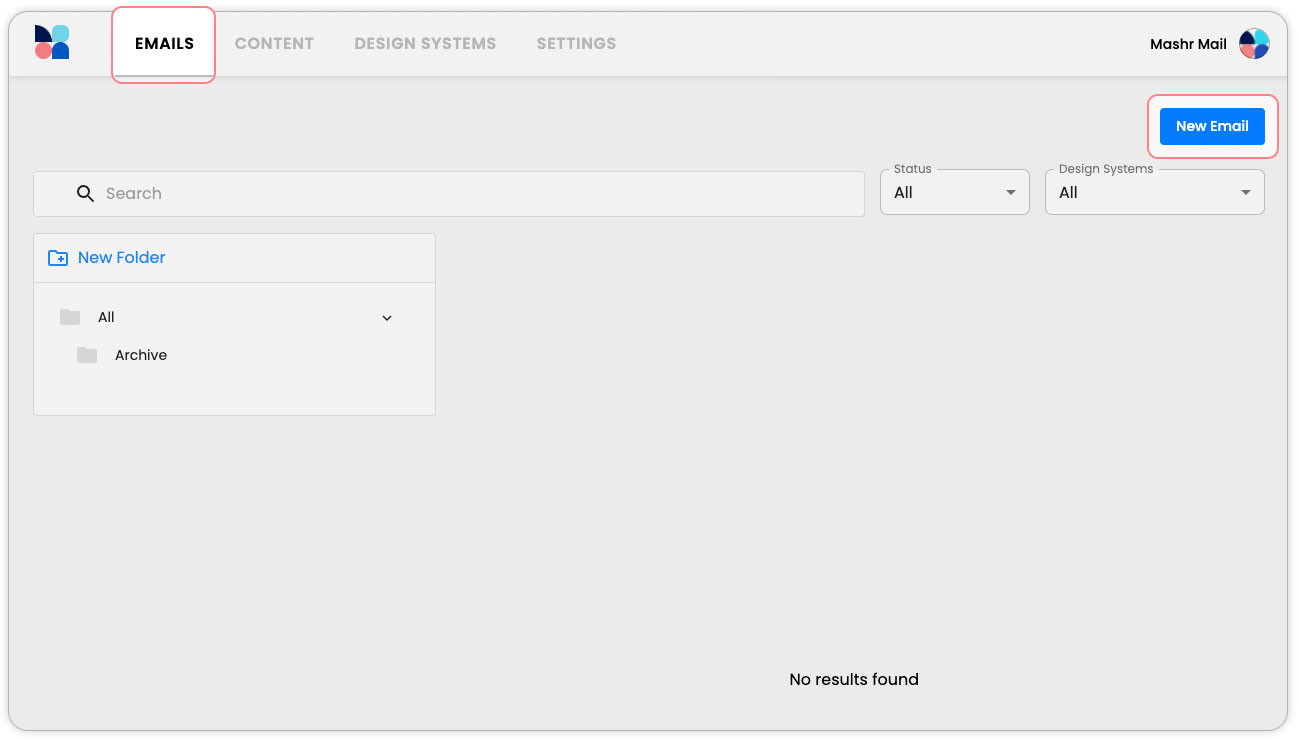
The Emails page is also located in the main navigation under ‘Emails' and is the main page for MashrMail when you log in. Here you can manage your entire email production for your organisation including campaigns, automated and transaction emails.
To get started with your first email, select the ‘New Email’ button on the top right-hand corner of the page.
Creating an Email
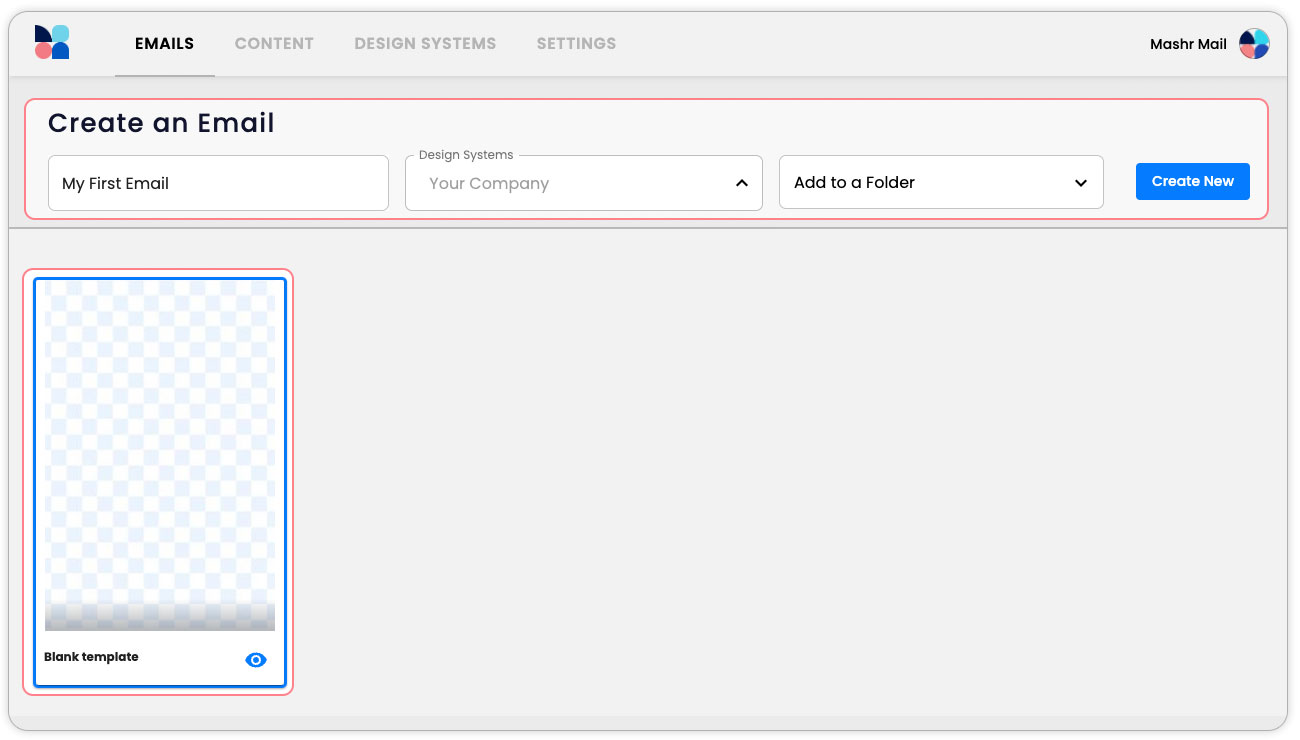
On the next screen, you will be able to configure your new email. These are the basic settings required to get started with the build process.
First, give you a new Email a name, e.g. “My First Email”
Next select the Design System you would like to use, e.g. “Your Company”
Lastly, select Template from the preview window. e.g. “Blank Template”
Optionally, you can also choose a folder for the email to be created in.
Building an Email
Navigating the email builder
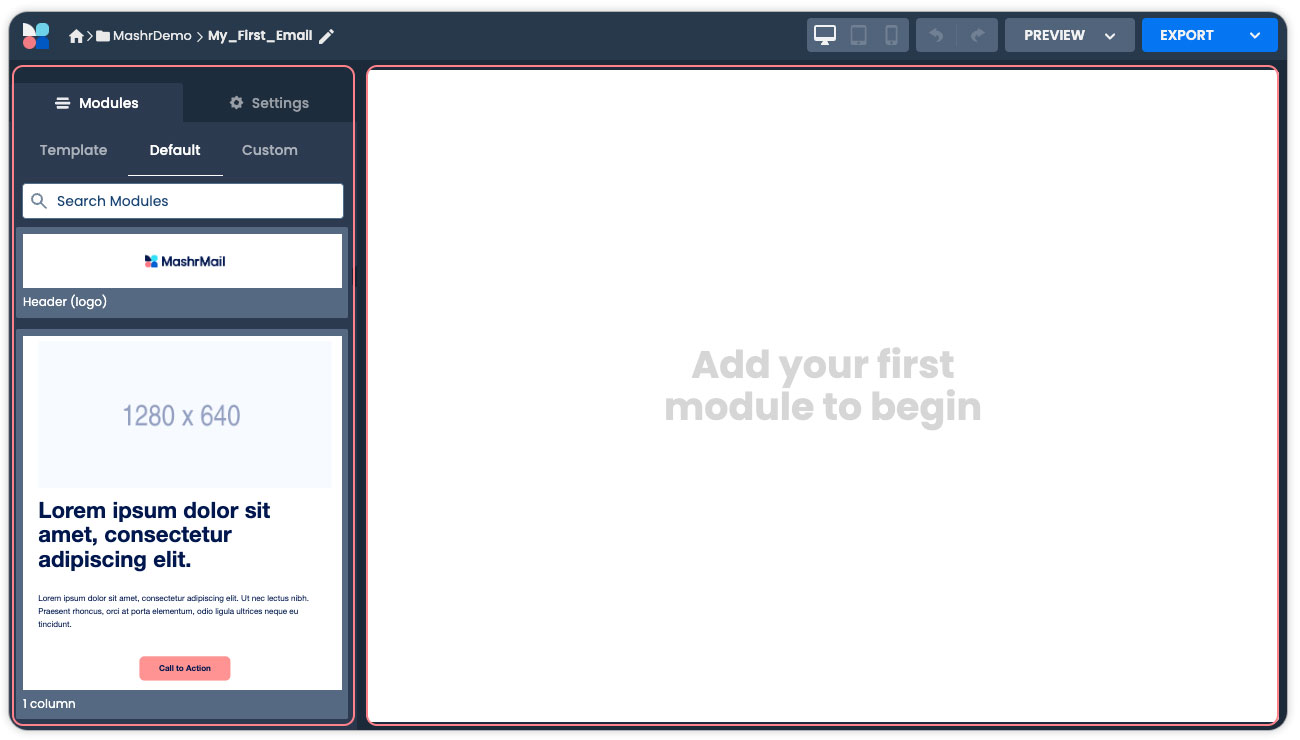
Once the email builder loads, you will see the email canvas on the right and the sidebar editor on the left.
The email canvas is where you will see the email start to take shape. This is where you will drag modules to build your email and start adding your content.
The sidebar editor will allow you to edit the email. When you select a module or a component (A headline, an Image, etc) this sidebar will show you the options you can edit
Adding a Module to your email
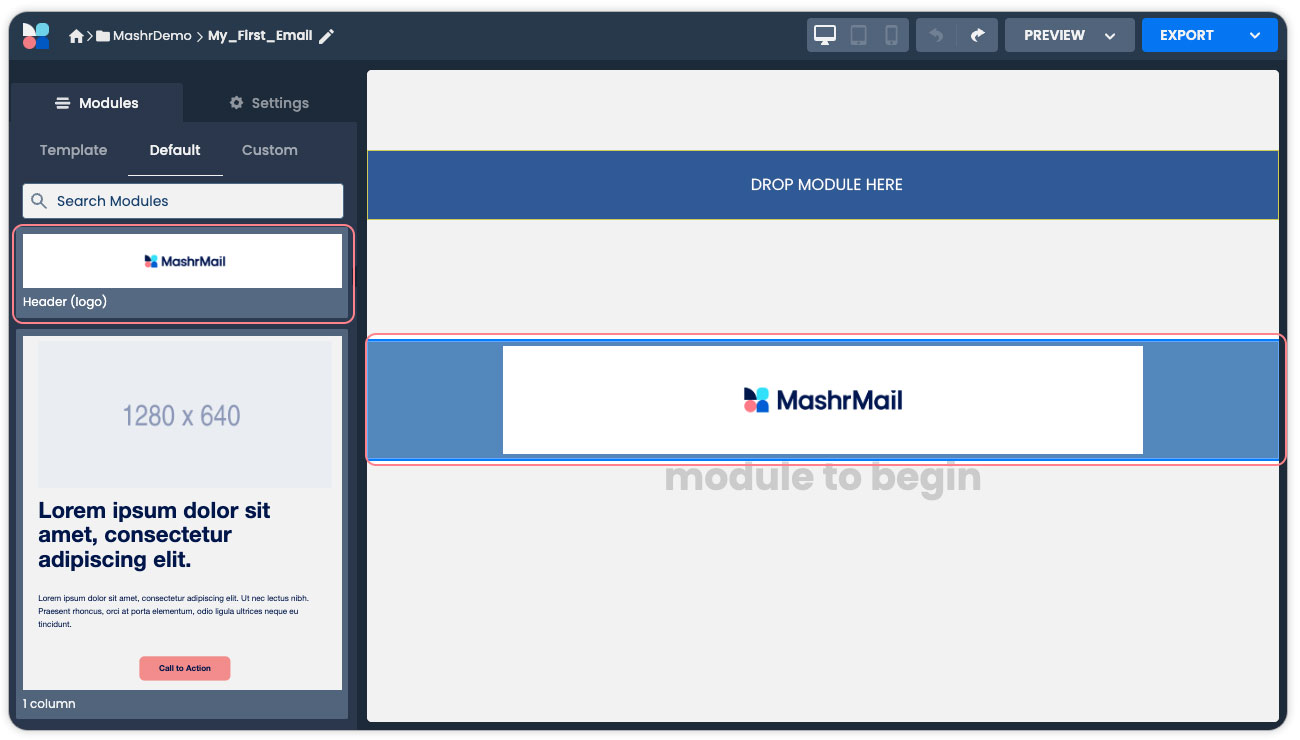
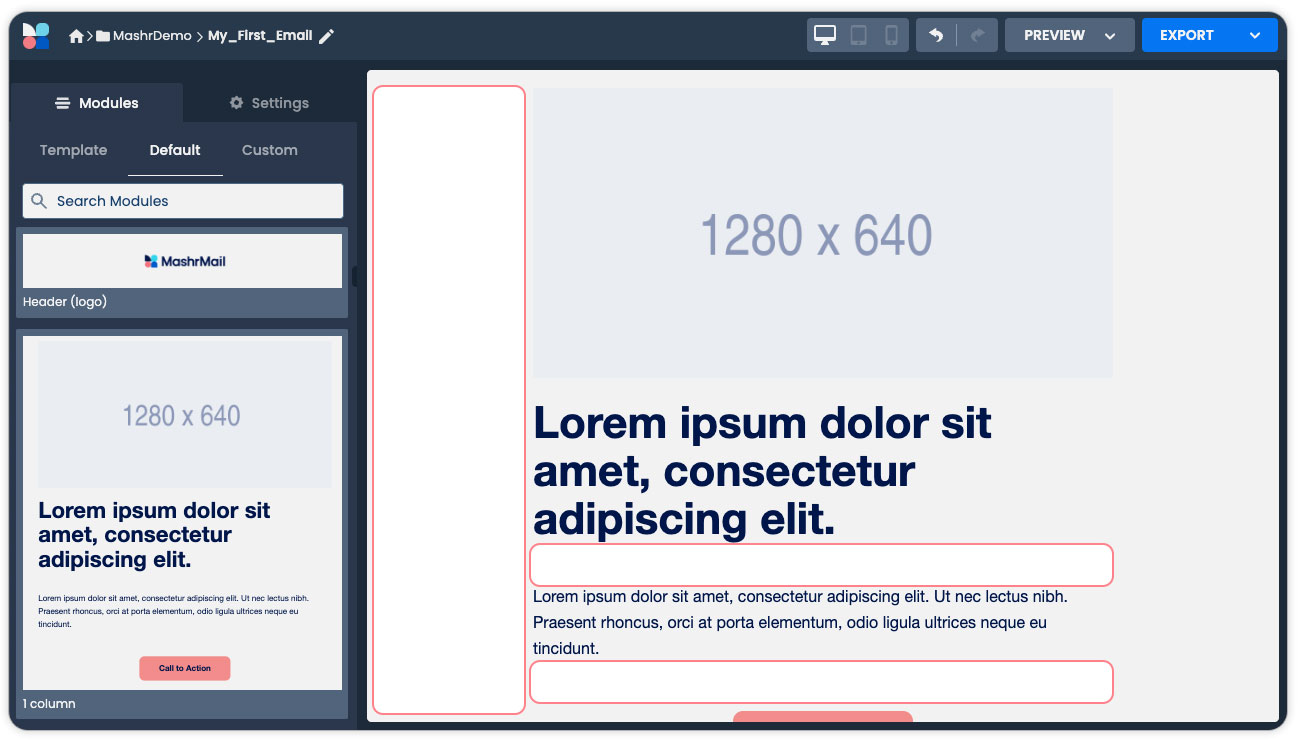
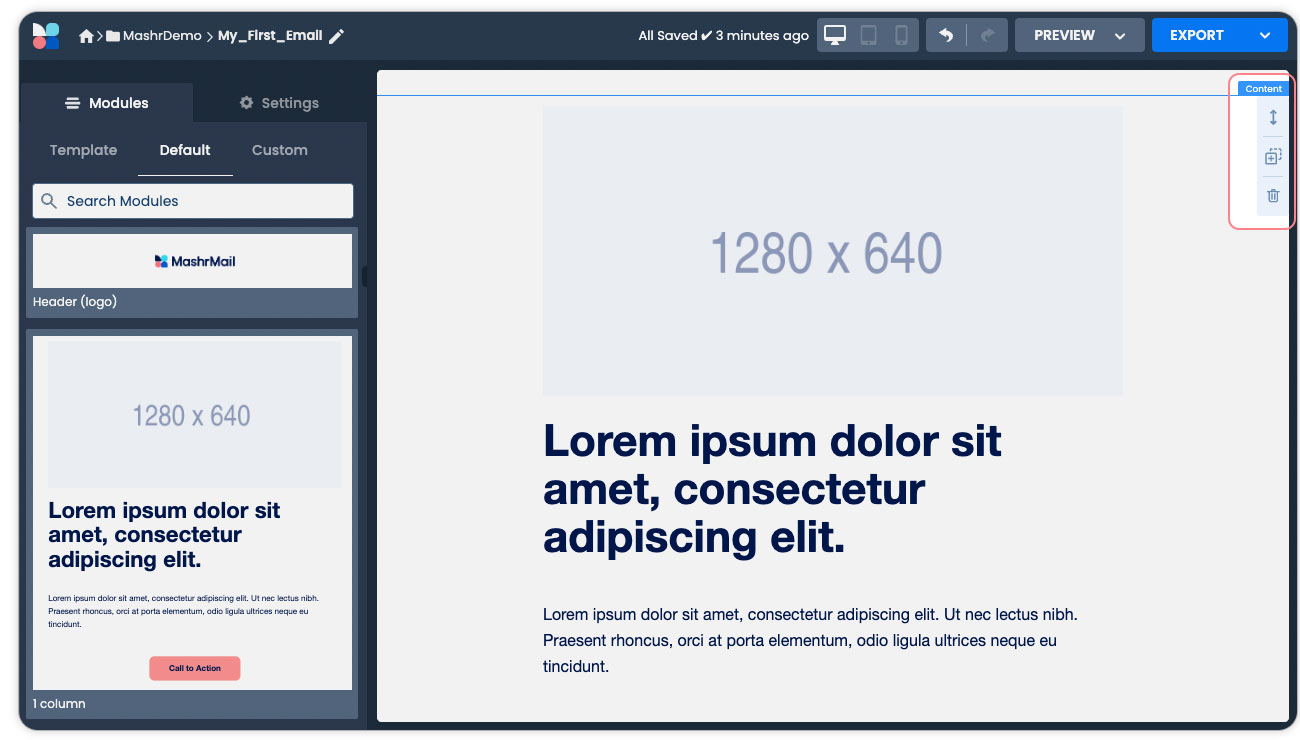
On the left, in the sidebar editor, you will see a list of default modules. These modules will be automatically re-branded with your Design System settings and can be used to build an email by simply dragging and dropping them into the email canvas. In the example below we have dragged the module 'Header (logo) to the email canvas on the right.
Editing a Modules properties
Once you have added modules to your email you can start to customise them further by accessing the Modules properties. You can do this by clicking anywhere on the module where there is no content, e.g select the module background or the space between the content.
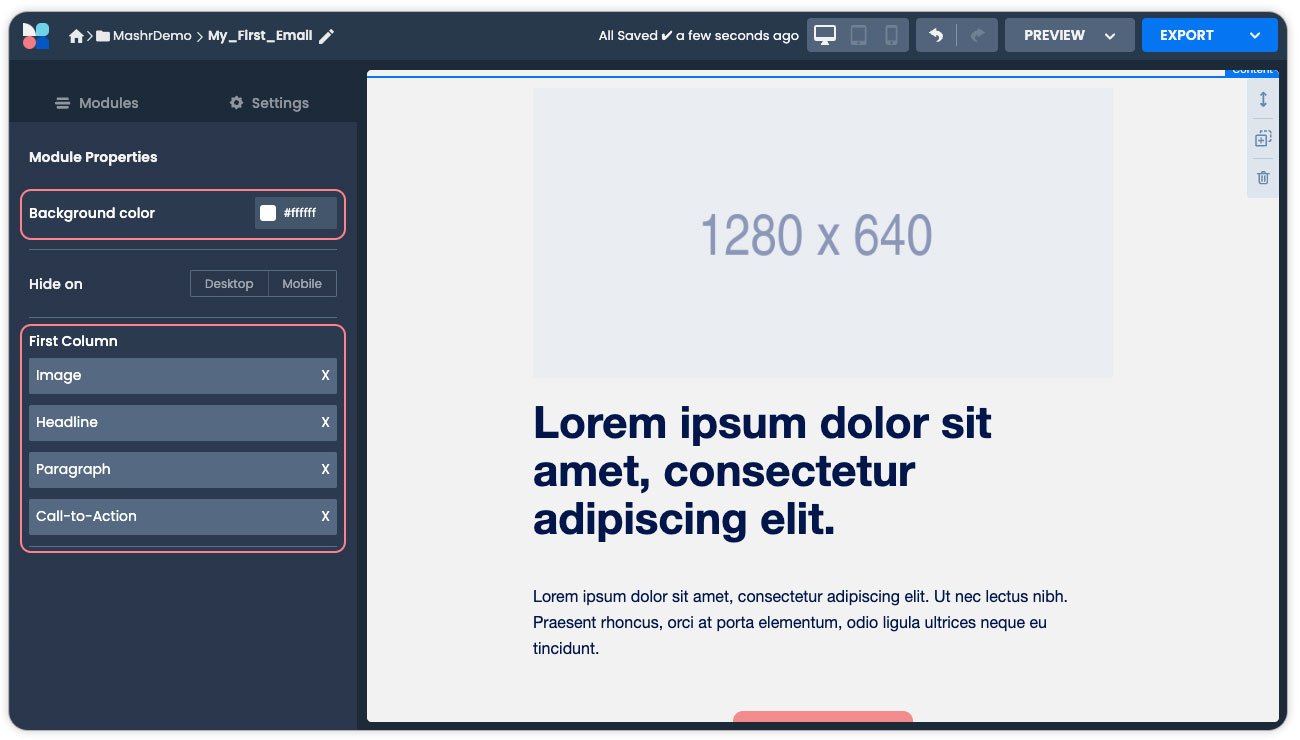
After selecting, the sidebar editor will change to show the module properties. Here you can modify specific options, such as the module background colour, and also see the components which make up the Module. In the example below we are editing a ‘1 Column’ module and can see this has the components ‘Image’, ‘Headline’, ‘Body’ and ‘Call-To-Action’.
Editing a Components properties
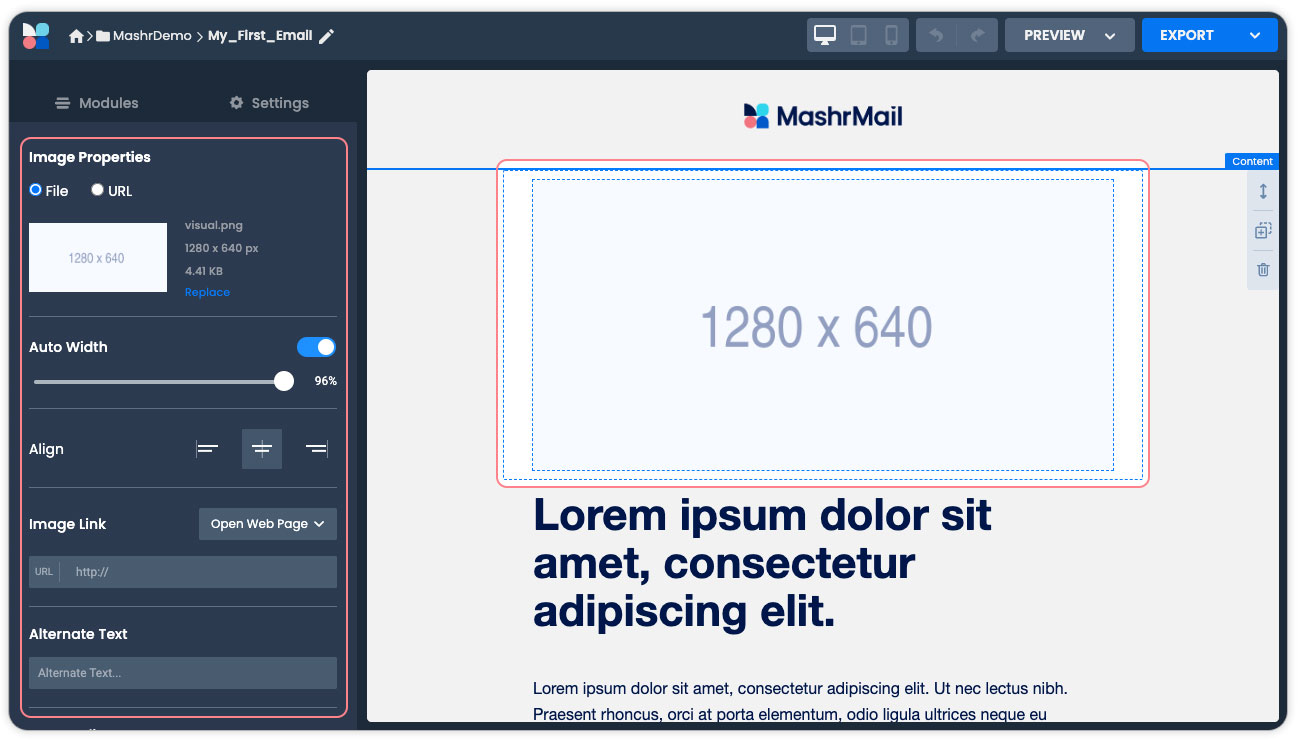
To edit the content you can select each individual component by clicking on the content in the email canvas. For example, If you select the Image component, then the sidebar editor will change to display the Image properties which are editable.
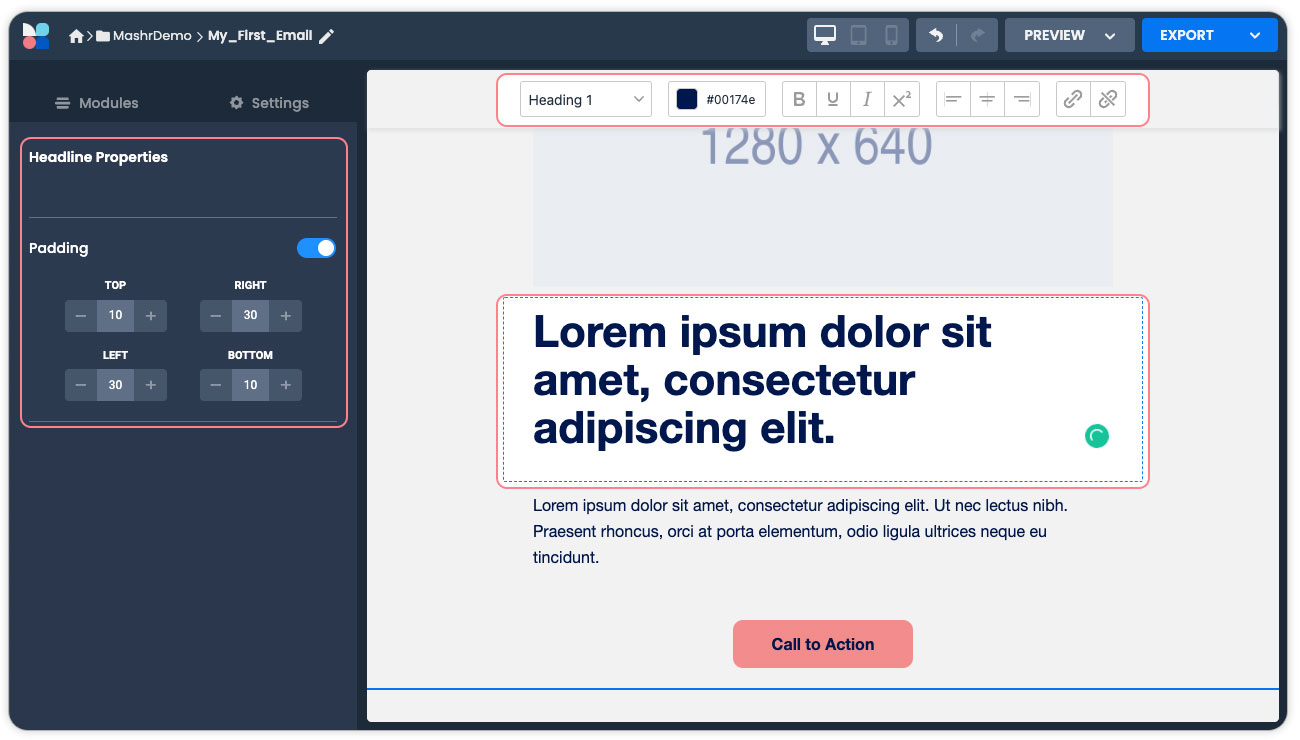
If you select a Headline, the Headline properties will be shown in the sidebar editor and a specialised type editing bar will display at the top of your screen.
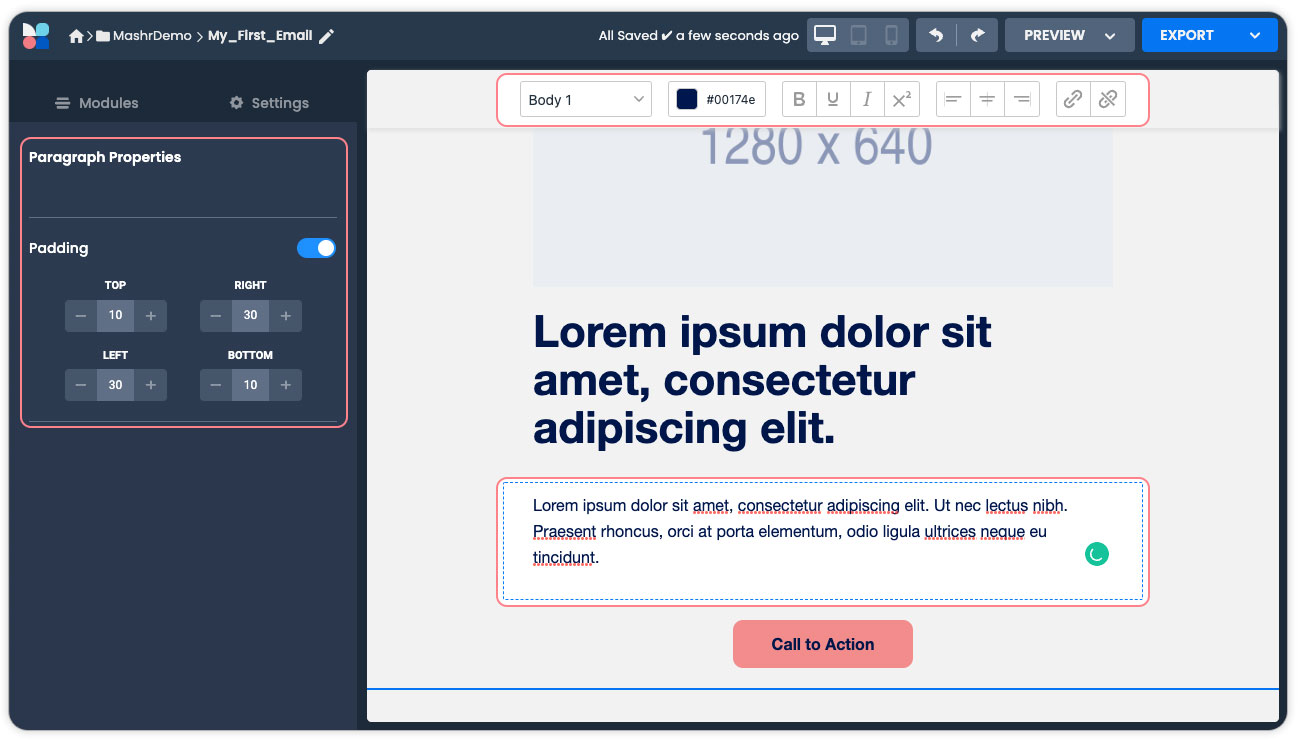
This specialised type editor bar will also appear when editing Body components as below.
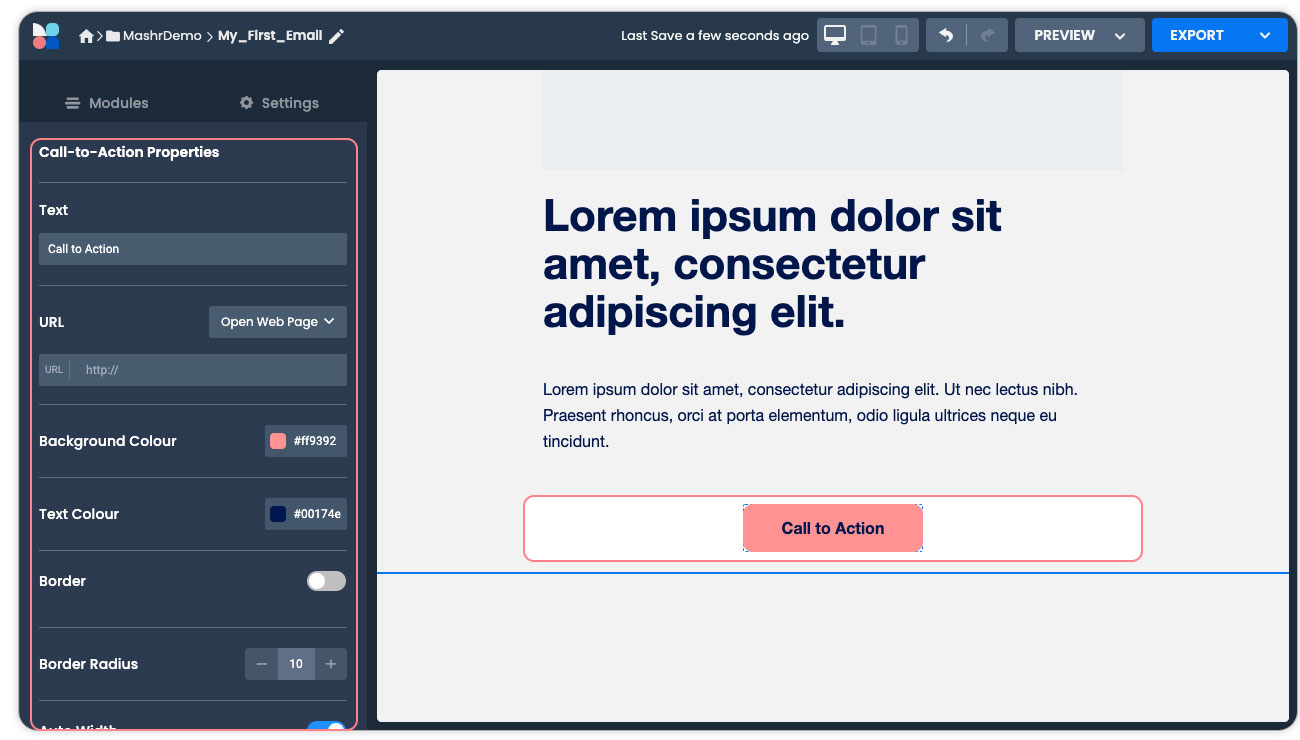
When selecting Call-To-Action components all editable properties will be displayed in the sidebar editor.
Re-ordering Duplicating or Deleting modules
By hovering over a module in the email canvas you will see icons for Re-ordering Duplicating or Deleting visible in the top right-hand corner of the Module. To Duplicate or Delete a module simply click the corresponding icon. To re-order a module click and drag the module up or down your canvas to the desired position.
Exporting an Email
The above steps should give you a solid understanding of the basic functionality of creating an Email in MashrMail. We will be adding more advanced feature documentation in future but for now, let’s export your email!
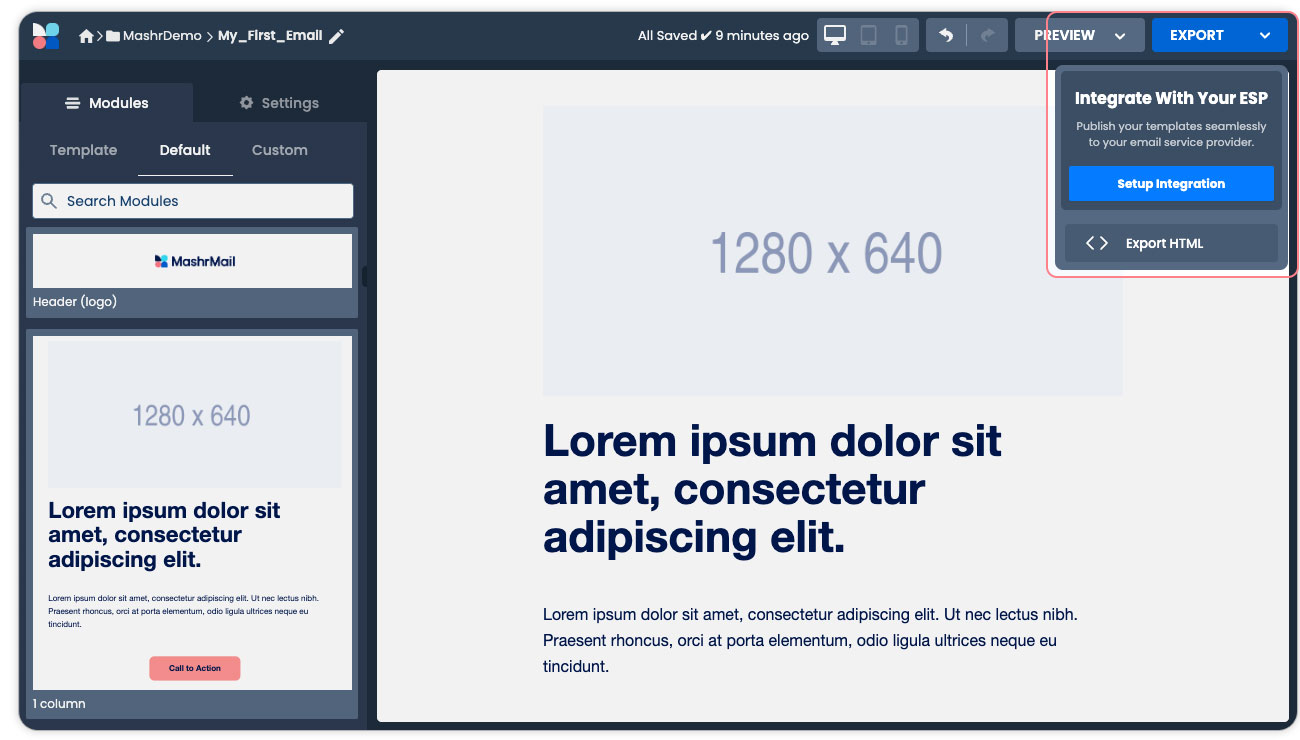
The export menu in the top right-hand corner of your screen will show you the available export options. If you have added your ESP/MAP connector already, then you will see this as one of the options. If not, you will still be able to export your emails as HTML packages by selecting the ‘Export HTML’ option.
All done, Congratulations!
Thanks for reading our getting started guide. We hope you have found MashrMail easy to get up and running and you are eager to start building emails at speed and scale. We are constantly writing new documentation and how-to articles so please check back regularly for more updates in future.