Set up your first Design System
Learn how to turn your brands style guide into a fully functional Design System
Introduction
Design Systems are the heart of Mashrmail. They power the look and feel of almost everything you can do in our email builder. Think of a design system as a living breathing brand style guide where you can control all the variables in an easy-to-use user interface. Set your specific brand colours, typography and more and our extensive library of modules will be automatically re-branded for you.
Accessing Design Systems
The design systems page is located in the main navigation at the top of the MashrMail interface. Here you can edit your Design Systems, create new Design Systems, or remove any old Design Systems no longer required.
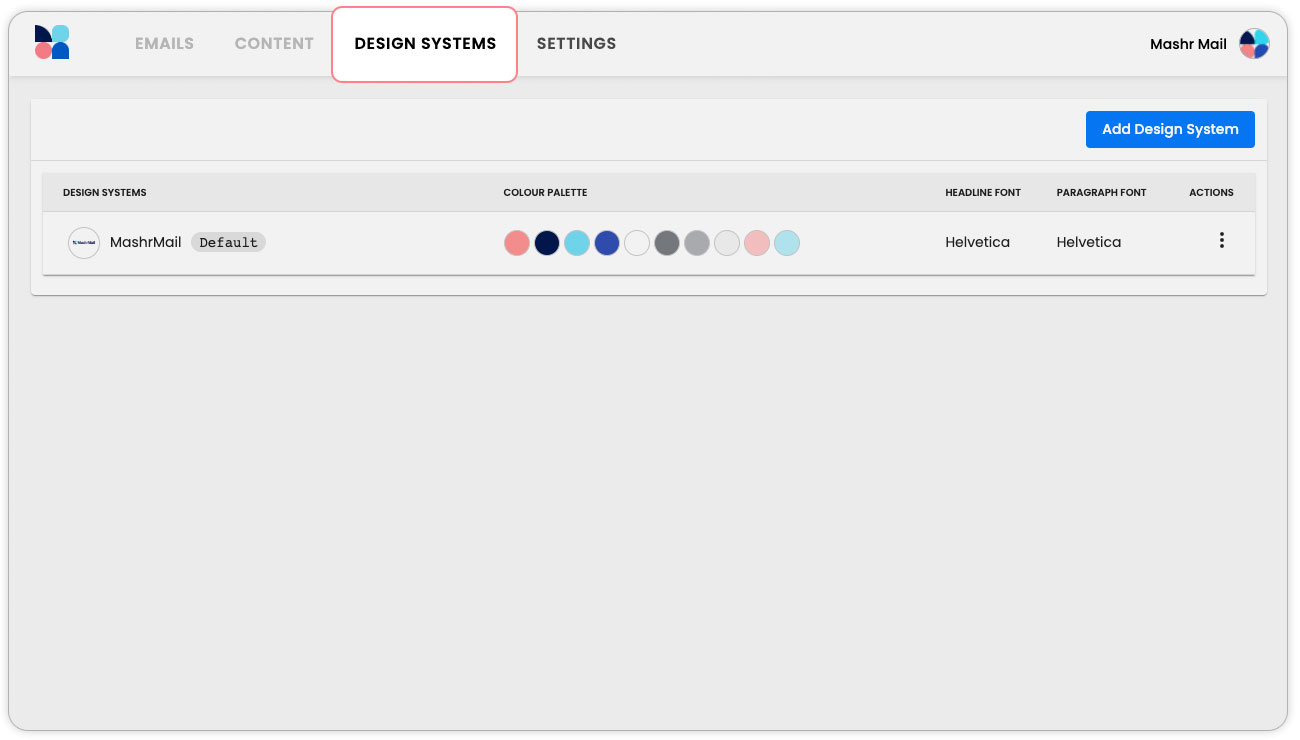
When you first start using MashrMail you will already have a default Design System setup. This default Design System will be used for all emails built by default but you can always set up multiple Design Systems if you need.
Configure your Design System
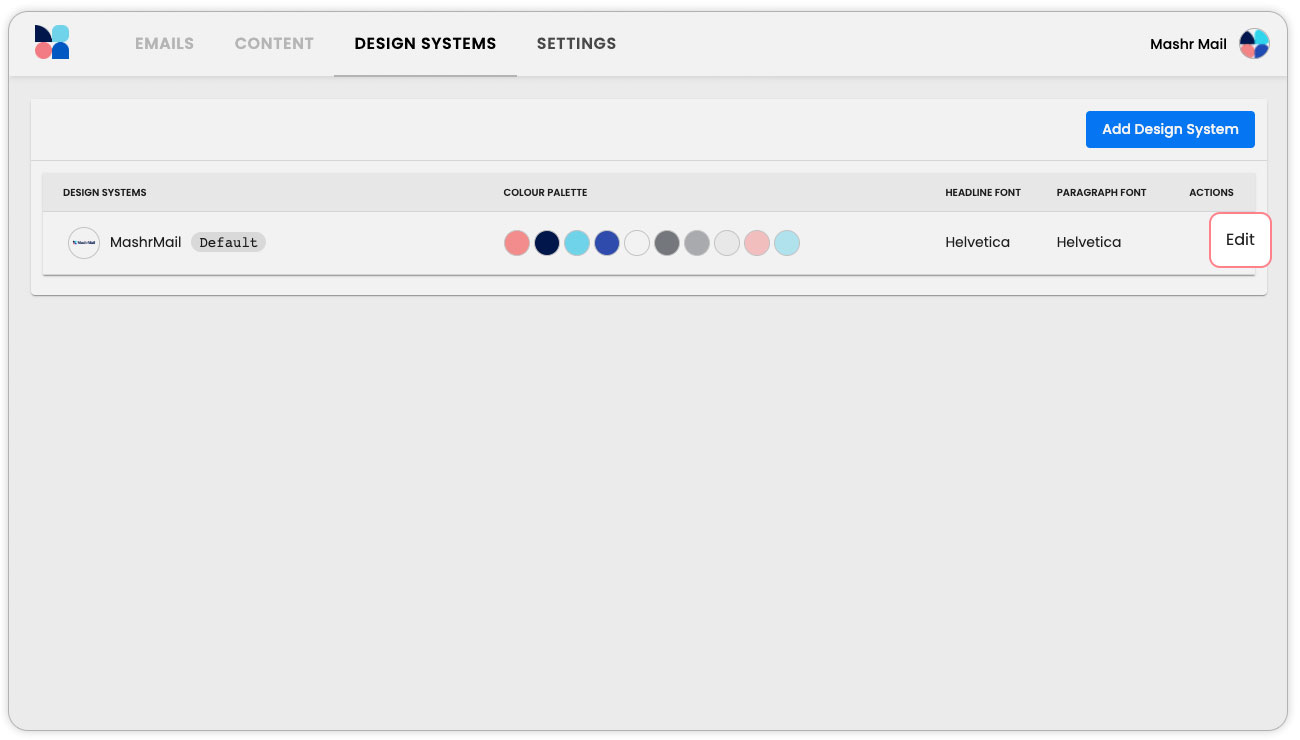
To get started using MashrMail with your own brand you will need to edit the default Design System called ‘MashrMail’. To get started select the three dots menu, located under the ‘Actions’ column, and then select edit.
1. Name your design system
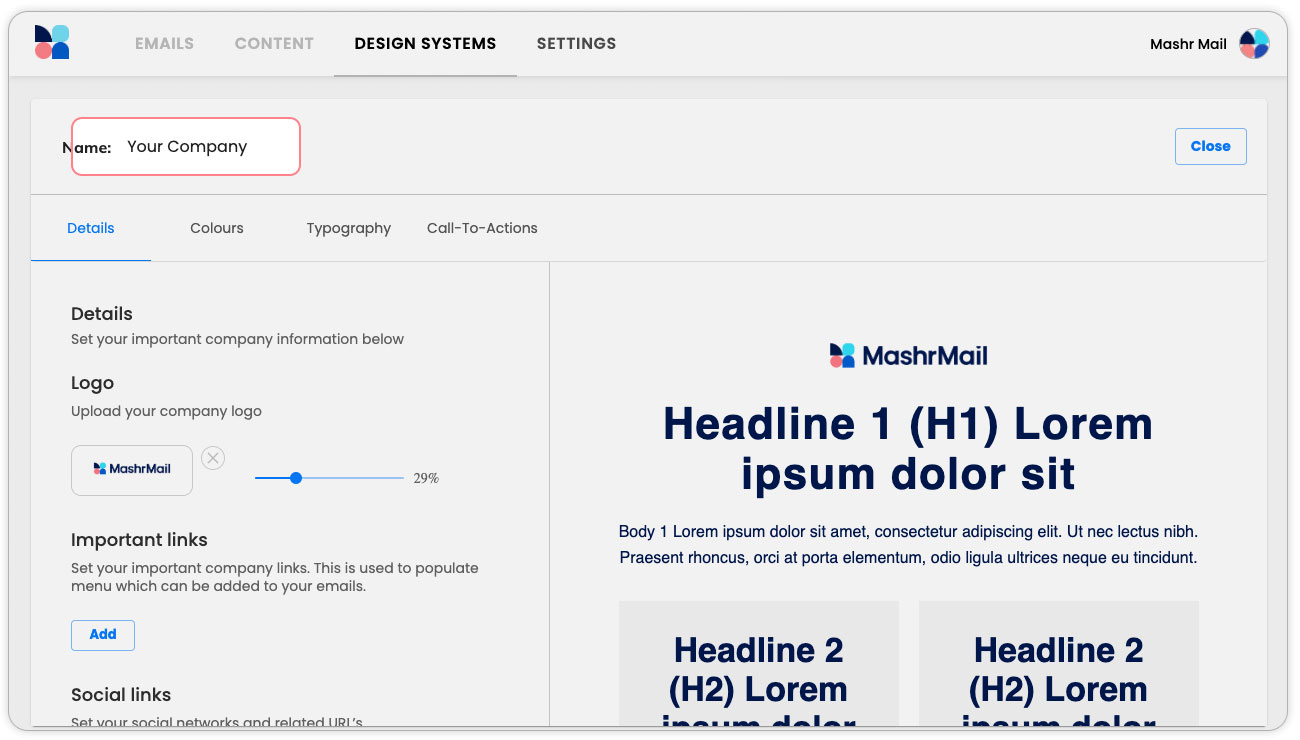
Firstly, let’s change the name of your default Design System to that of your company.
2. Upload your logo
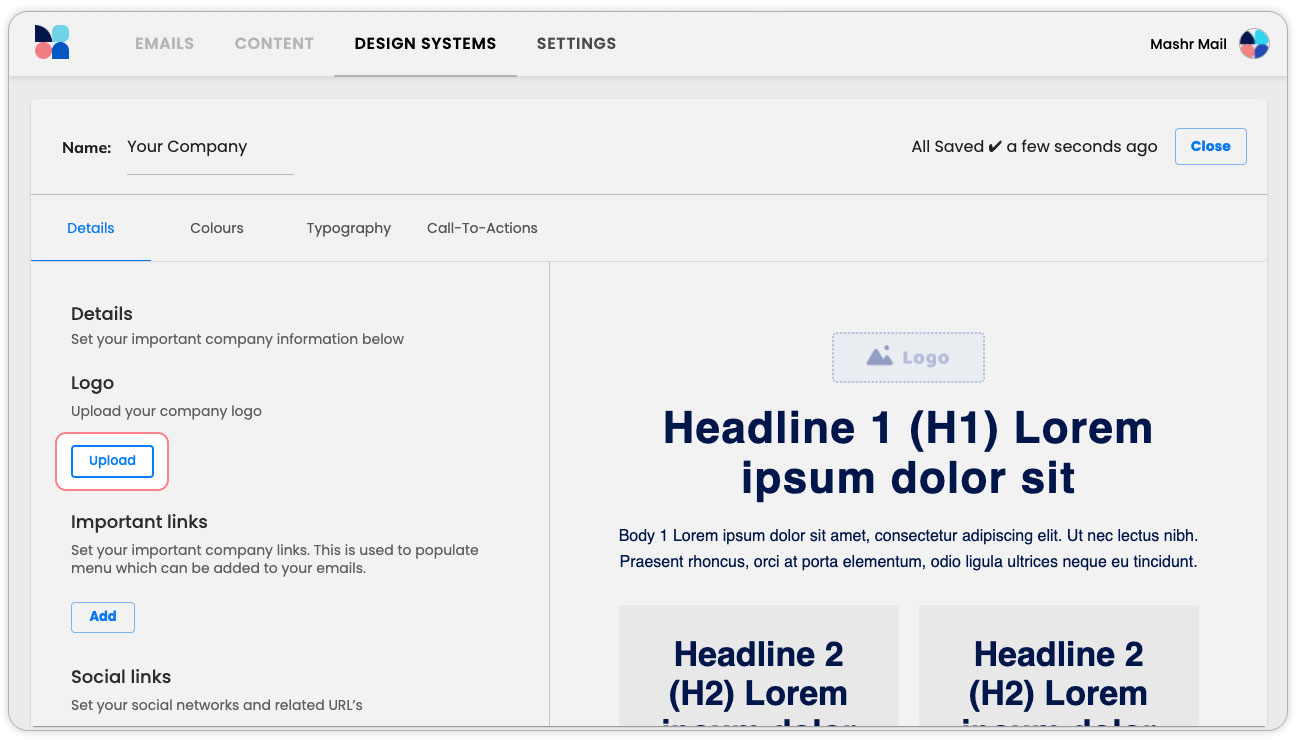
Next, upload your company’s logo. You can do this by removing the default MashrMail logo with the small cross and selecting the upload button.
3. Add your brand colours
Select the ‘Colours’ sub-menu item below your Design System name. Here you will enter your brand colours to build your ‘Main Colour Pallet’. This colour pallet will be used to automatically populate a colour picker menu to allow an easy quick selection of brand colours when building an email.
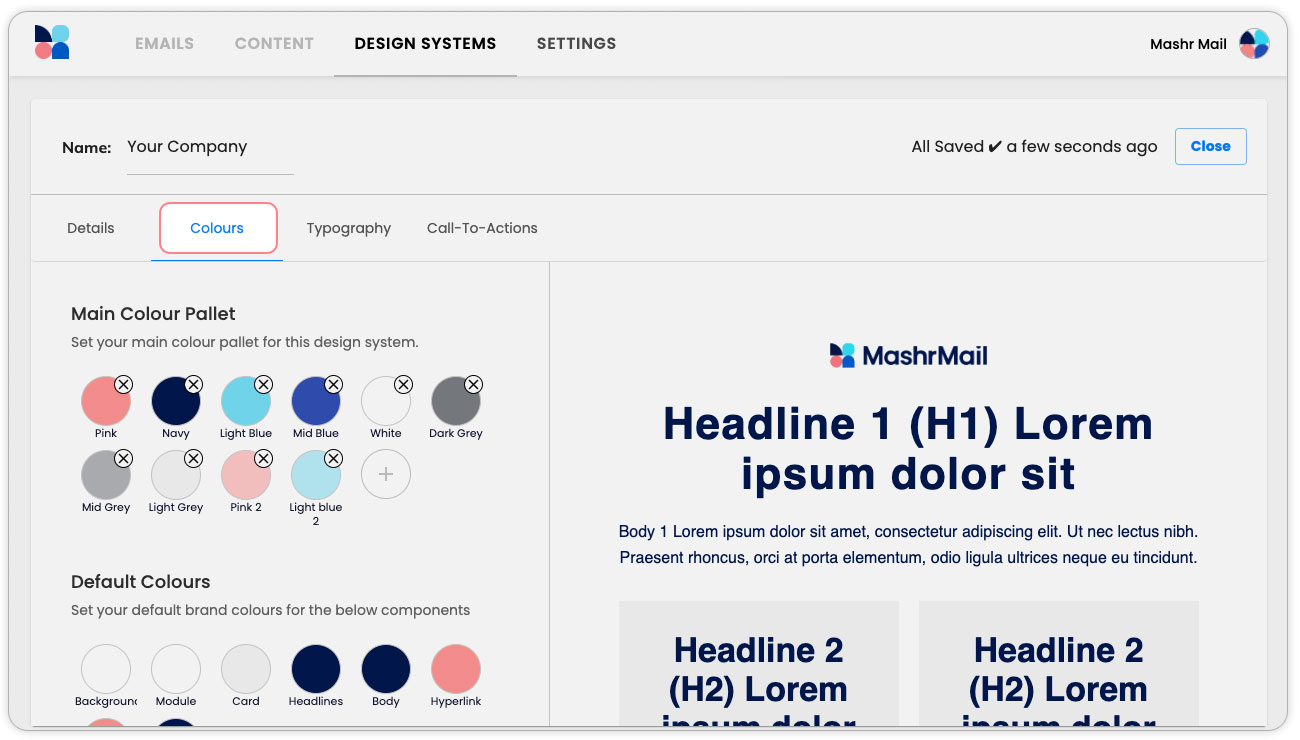
By default, we have populated your ‘Main Colour Pallet’ with the MashrMail colours as examples. Colours can easily be edited by selecting the colour to open the editing popup. All brand colours must be entered using 6-digit HEX values and be given a name which will be used in the email builder interface.
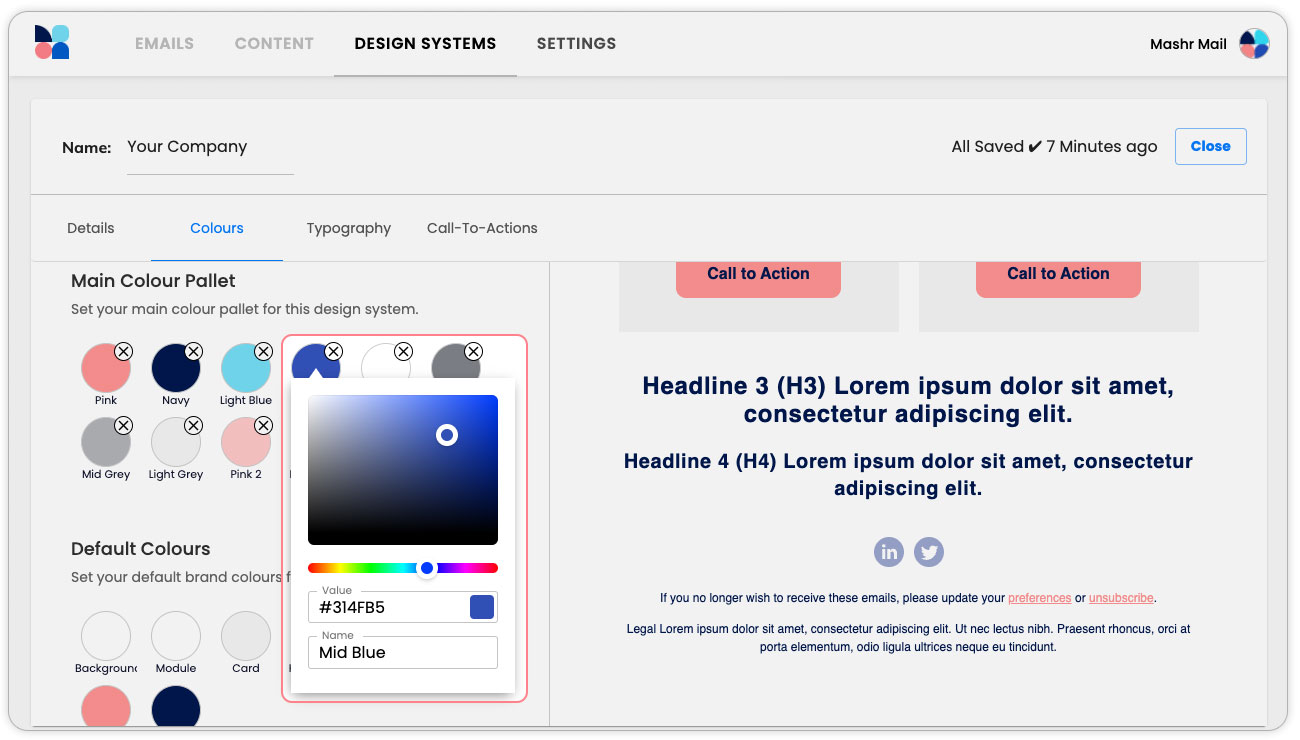
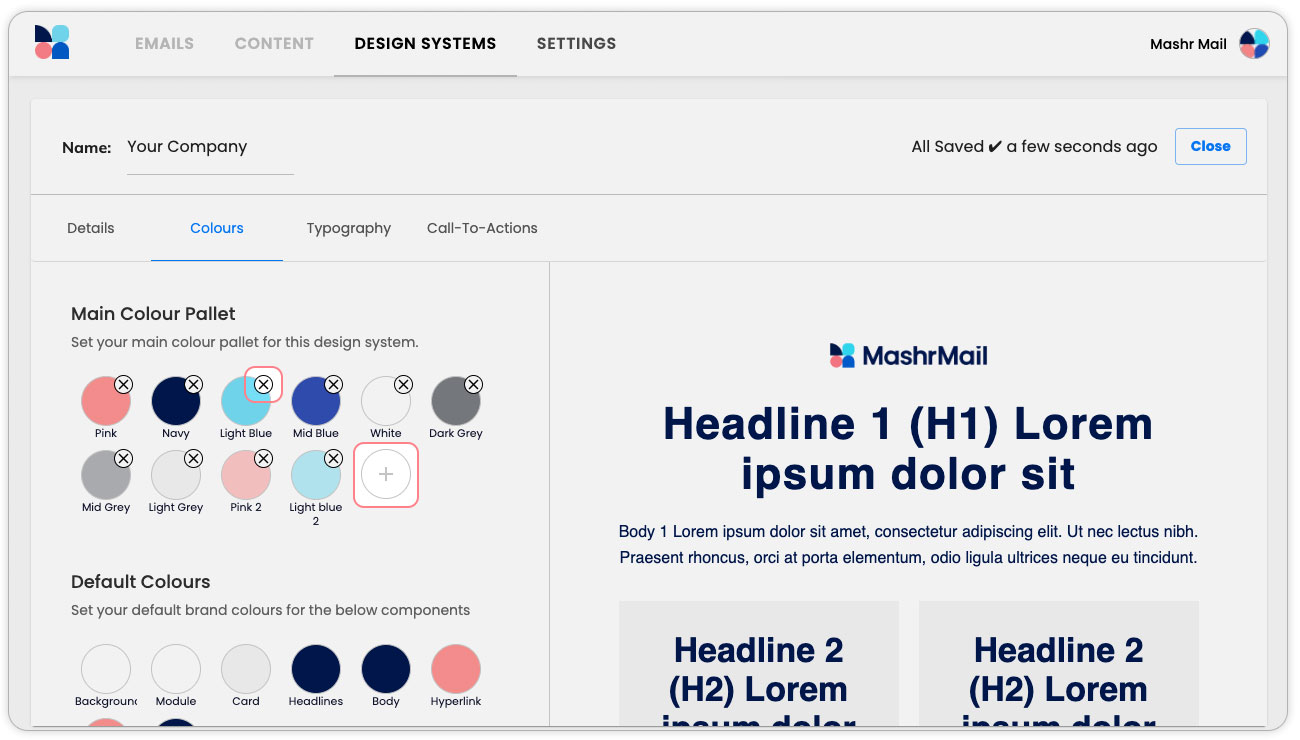
To remove colours simple select the small cross at the top right-hand corner. To add a new colour simply select the white circle with the plus icon to add another colour option, then select it to open the editing popup and enter your values.
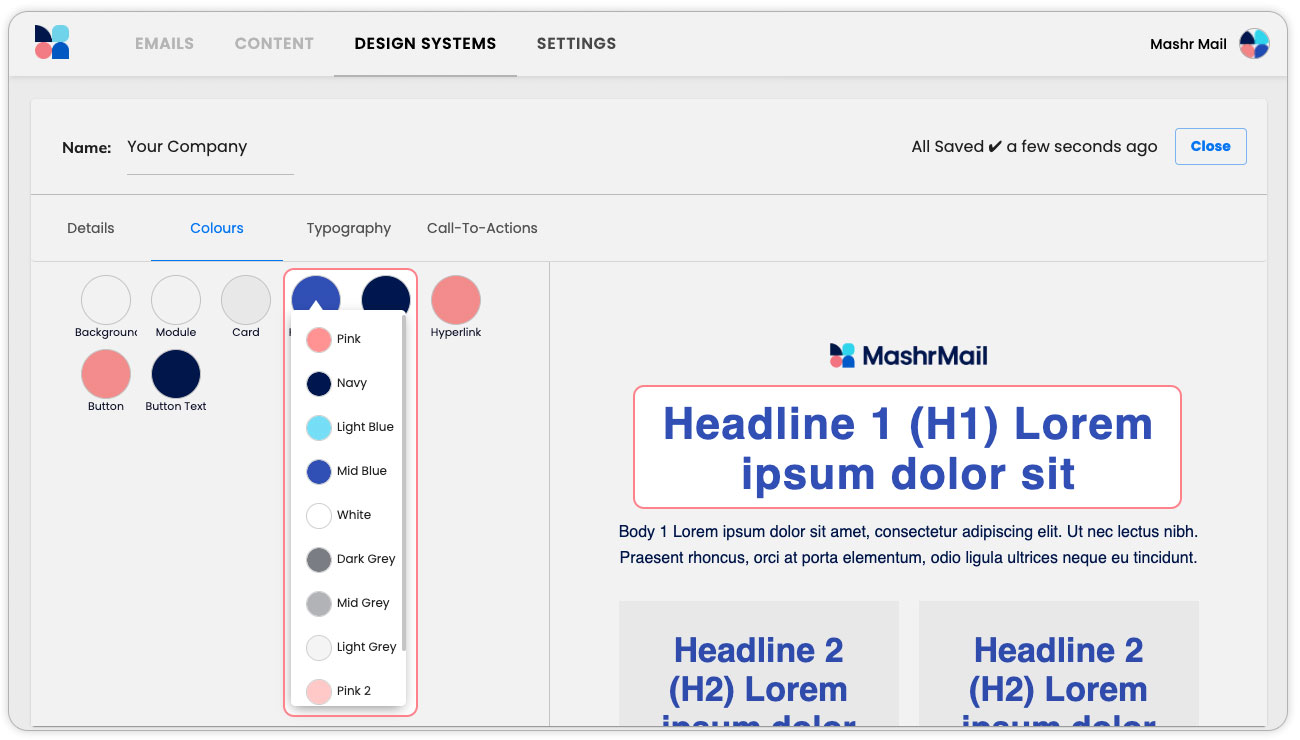
4. Choose your Default Colours
These colours are how the individual elements of your email will look when you initially drag them into the email builder canvas. Think of them as a starting point, a default appearance intended to get the design started quickly and easily.
Simple select each element and then choose the desired colour from the Main colour pallet menu. As you select the desired colours you will see the email preview window on the right change to give you an idea of how your emails will appear.
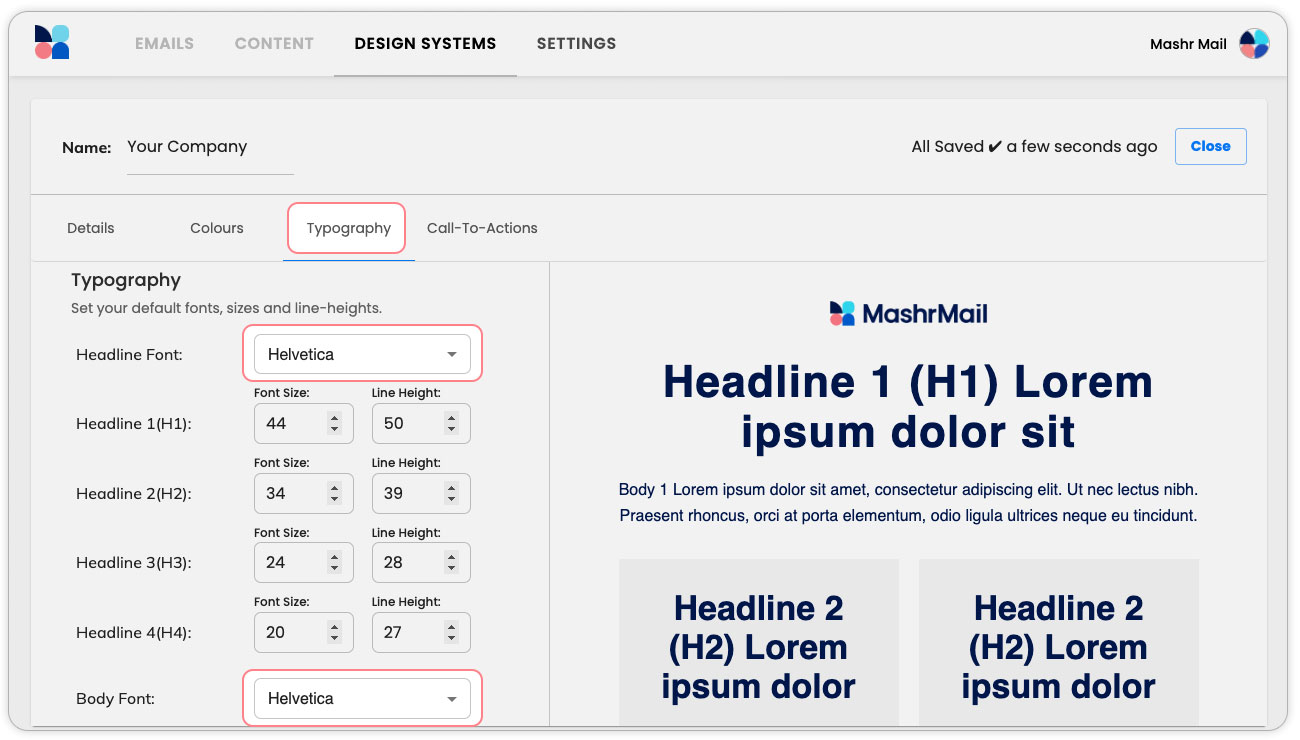
5. Set your websafe fonts
The ‘Typography’ tab allows you to control how your text will appear in your emails. We have already set up recommended font sizes and line heights for all the typography styles available in the email builder but if you would like to fine-tune these this is of course possible.
The main setting here which will need to be set for your brand is the fonts. Simply set the desired websafe fonts for both the Headline and Body text and you’re almost done with your first Design System!
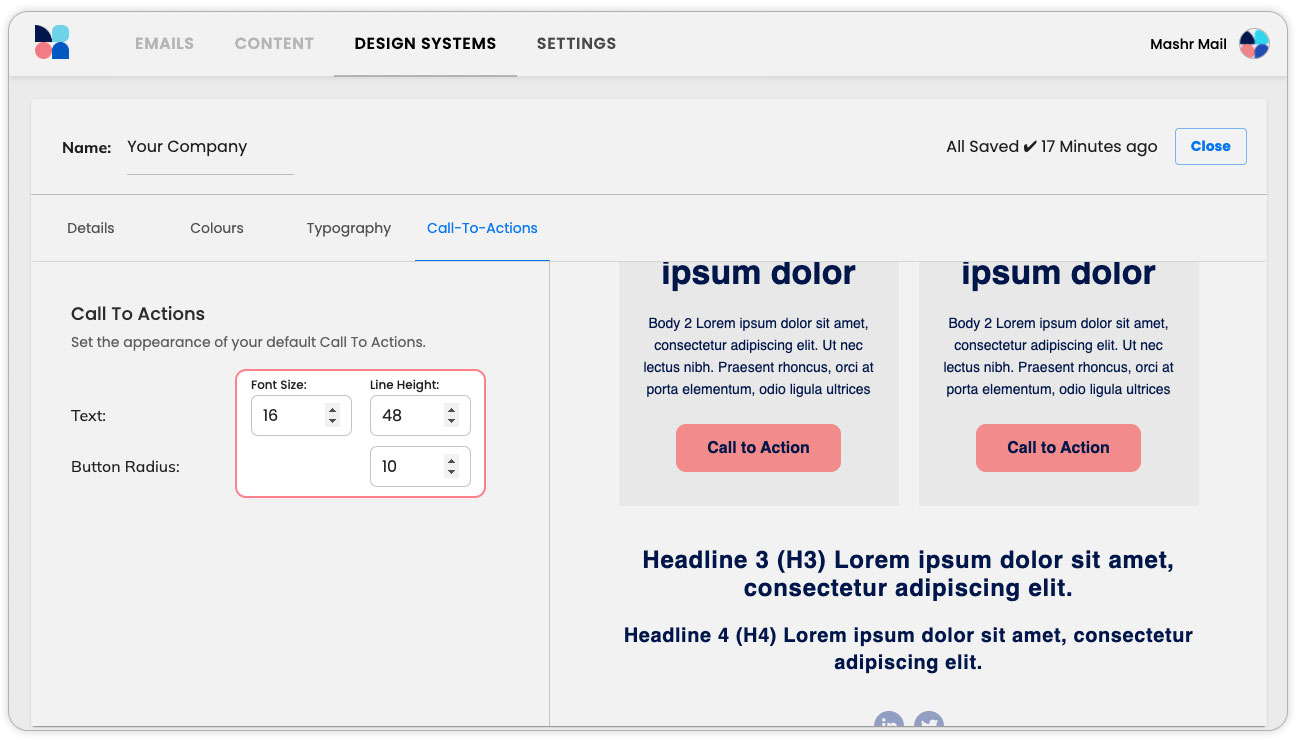
6. Style your Call-To-Actions
Last, but by no means least, are your Call-To-Actions. In the world of email, these are the most important piece of your Design System. In this tab you can control the look and feel of your Call-To-Actions, ensuring they match your wider digital visual identity.
All done! Next steps for Design Systems
In this getting started guide we tried to keep things simple but of course, there are more advanced features of Design Systems which we will be covering in further detail later. For now, this should get you up and running and ready to build emails.
The next step is to connect your sending platform.